
Here’s something wild – did you know that proper RGB lighting can actually improve your mood and productivity by up to 20%? I didn’t believe it either until I transformed my workspace from a boring beige nightmare into something that actually made me excited to sit down every morning! The right lighting setup isn’t just about looking cool (though that’s definitely a bonus), it’s about creating an environment where you genuinely want to spend time.
Look, I’ll be honest with you. My first attempt at RGB lighting looked like a unicorn exploded in my room. Everything was flashing, nothing matched, and my wife threatened to move my entire setup to the garage. But after some trial and error (okay, a LOT of error), I figured out what actually works.
Understanding RGB Lighting Basics
So RGB stands for Red, Green, and Blue – the three primary colors of light. When you mix these together in different combinations, you get literally millions of color options. Pretty neat, right?
The thing nobody tells you when you’re starting out is that not all RGB strips are created equal. I learned this the hard way when I bought the cheapest strips I could find on Amazon, and half of them died within two weeks. The quality really does matter here, folks.
There’s also this thing called addressable RGB (sometimes called ARGB), which lets you control individual LEDs instead of the whole strip at once. It’s way cooler for effects, but it’s also more expensive and complicated to set up.
Planning Your RGB Setup
Before you buy anything, grab a tape measure and actually map out where you want lights. Trust me on this one – I’ve got three extra meters of LED strips sitting in my drawer because I didn’t measure properly.
Think about what you’re trying to achieve. Ambient lighting? Accent lighting behind your monitor? Mood lighting for streaming? Each purpose needs a different approach, and mixing them up was one of my biggest rookie mistakes.
Location, Location, Location
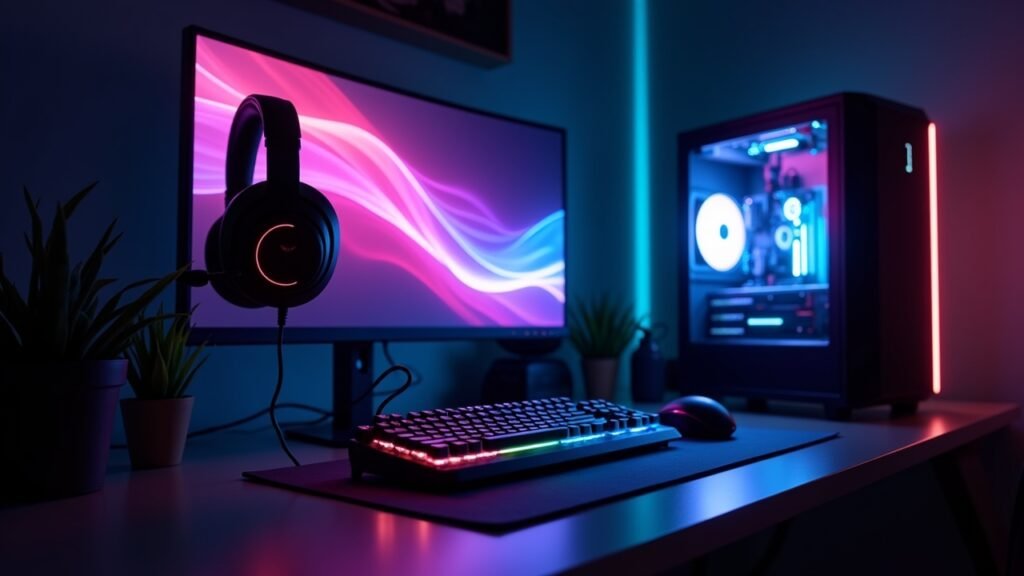
Behind your desk or monitor is classic for a reason – it reduces eye strain and looks fantastic. Under your desk creates this floating effect that’s honestly pretty sick. Don’t forget about shelving, ceiling corners, or behind your TV setup.
One thing I wish someone had told me: avoid putting RGB strips where they’ll shine directly in your eyes. Seems obvious now, but my first setup had me squinting like I was staring into the sun every time I glanced up.
Choosing the Right Components
You’ll need LED strips (obviously), a power supply, and usually some kind of controller. If you’re going smart, you might also want a hub that connects to your phone or voice assistant.
For power supplies, don’t cheap out. Calculate your total wattage needs and add 20% as a buffer. I once overloaded a power supply and it literally started smoking – not my proudest moment, and definitely not safe.
Controllers vary wildly. Simple RF remotes work fine for basic setups. But if you want to sync everything with your PC or smart home, look into smart controllers that work with platforms like Alexa or Google Home.
Software Matters Too
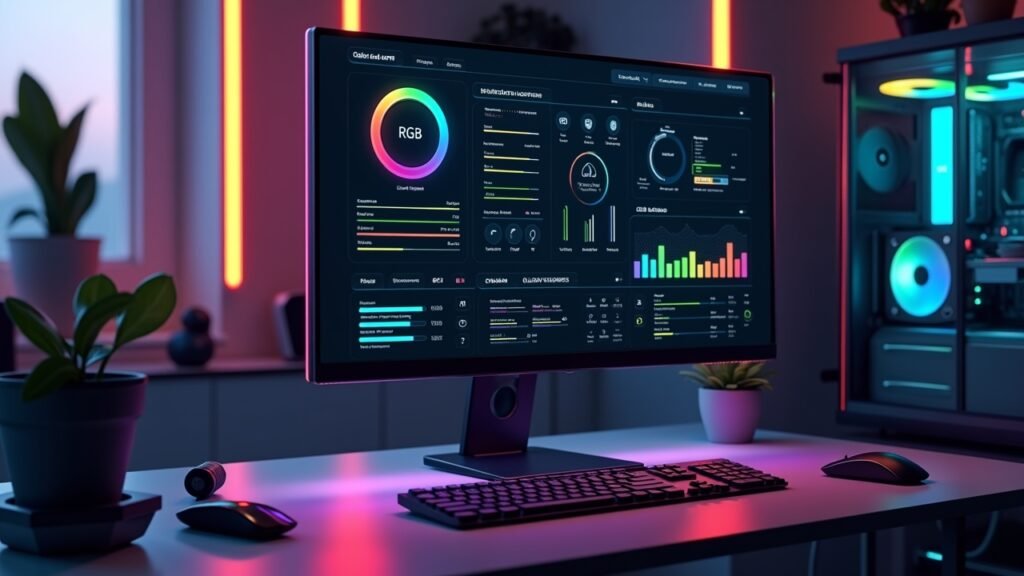
Programs like Razer Synapse or Corsair iCUE let you sync your lighting with games and music. It sounds gimmicky until you see your entire room pulse with the bass of your favorite song. Then you get it.
Installation Tips From Someone Who’s Messed Up
Clean the surface before sticking anything down! The adhesive backing on LED strips is pretty weak if there’s dust or oils on your furniture. I had strips falling off constantly until I figured this out.
Use cable management. Seriously. Zip ties and cable channels are your best friends here because exposed wires look terrible and they’re also a tripping hazard (ask me how I know).
When cutting LED strips, only cut at the marked copper pads. I cut through the middle of a section once and basically ruined a perfectly good strip because I wasn’t paying attention.
Making Everything Work Together
Color temperature matters more than you’d think. Warmer colors (reds, oranges, yellows) are better for relaxing, while cooler colors (blues, purples, whites) help with focus and energy.
Don’t run everything at full brightness all the time. It’s overwhelming, it wastes power, and your LEDs will burn out faster. I usually keep mine around 60-70% brightness for daily use.
Create different scenes or profiles for different activities. Work mode, gaming mode, chill mode – whatever makes sense for your lifestyle. Most decent controllers let you save presets, which is super convenient.
Your Glow-Up Starts Now
Setting up RGB lighting isn’t rocket science, but it does require some planning and patience. Start small, maybe with one area of your room, and expand from there as you figure out what you actually like.
Remember that this is YOUR space, so don’t feel pressured to follow trends if they don’t vibe with you. Some people love the rainbow wave effect, others prefer subtle single colors. Both are totally valid.
Take your time with the installation, double-check your measurements, and for the love of all that’s holy, clean those surfaces before sticking anything down. Learn from my mistakes so you don’t have to make them yourself!
Want more tips on lighting, tech setups, and creating spaces you’ll actually love? Head over to Voltzora for more guides and inspiration. We’ve got tons of content to help you level up your environment, one LED at a time.