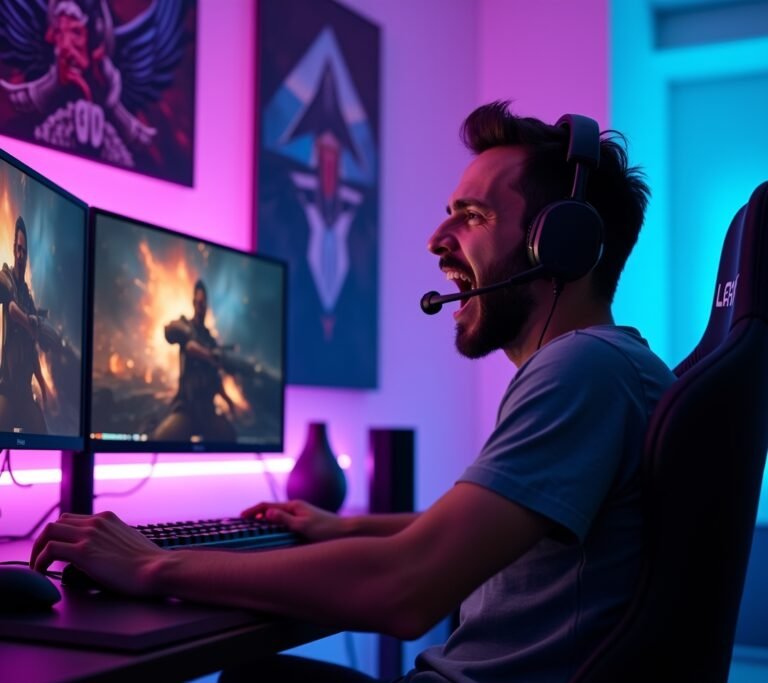
I’ll never forget my first Twitch stream back in 2019. My audio was completely out of sync, I forgot to turn on my webcam for the first 20 minutes, and exactly three people watched—two of them were my mom on different devices! But here’s the thing: over 15 million people stream on Twitch now, and most of them started just as clueless as I did. The difference between folks who quit after their first awkward stream and those who build actual communities isn’t talent or fancy gear—it’s just knowing the basics and sticking with it.
Getting Your Tech Sorted (Without Breaking the Bank)
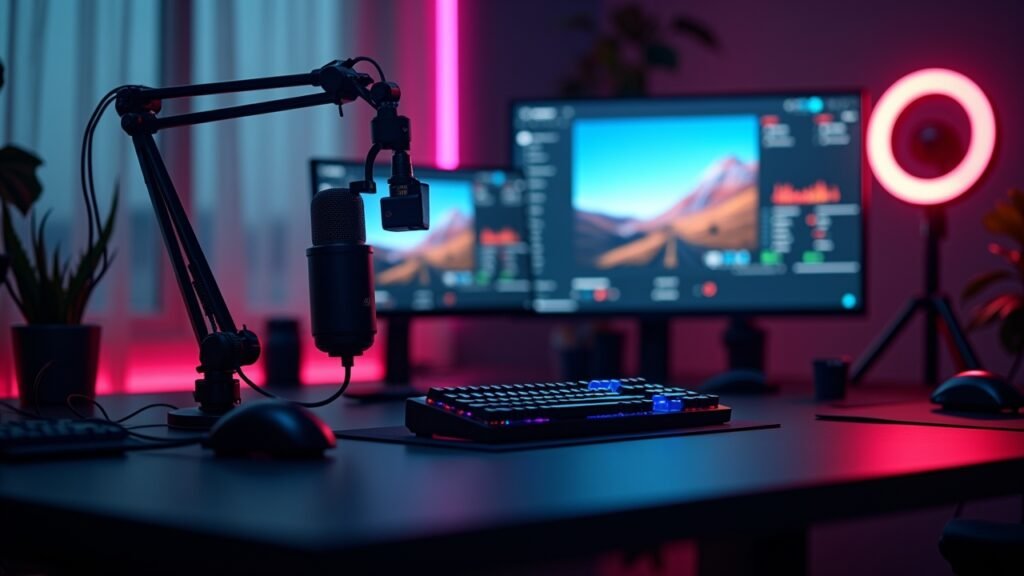
Let me be straight with you. You don’t need a $3,000 gaming PC to start streaming on Twitch. My first setup was literally my gaming laptop, a $20 microphone from Amazon, and whatever webcam I could borrow from my sister.
The bare minimum you actually need is simple: a device that can run OBS Studio (it’s free, thank goodness), a halfway decent internet connection with at least 5 Mbps upload speed, and something to stream—whether that’s a game, art software, or just you chatting. Everything else? That’s just gravy.
Here’s where I messed up though. I didn’t test my stream before going live the first time, which is why nobody could hear me properly for weeks until someone finally told me in chat that I sounded like I was broadcasting from inside a tin can.
Creating Your Twitch Account and Channel
This part’s pretty straightforward, but there’s some stuff worth mentioning. Head over to Twitch.tv and create your account—pick a username you won’t hate in six months because changing it later is a pain.
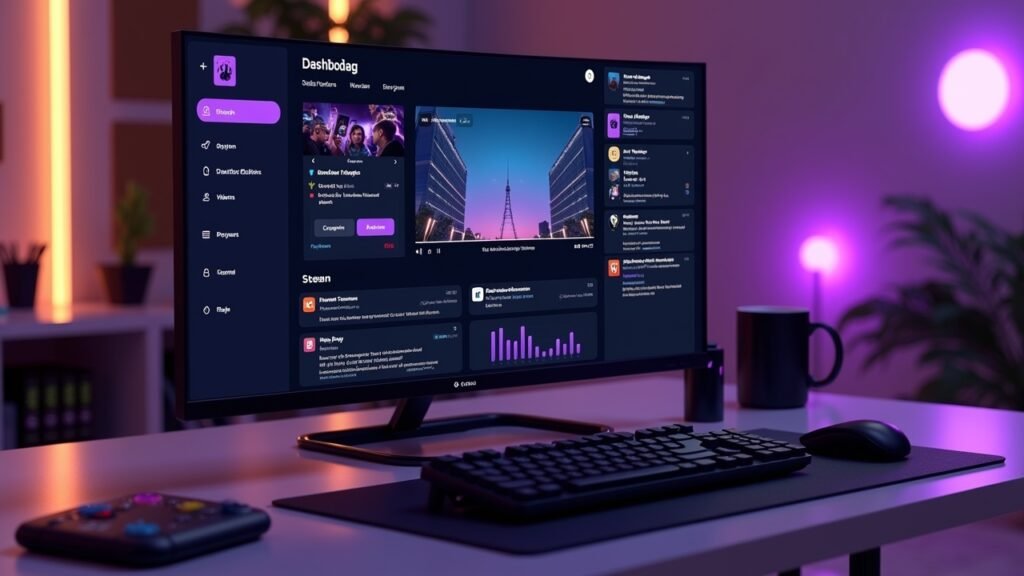
Once you’re in, customize your channel. Add a profile picture, write a bio that actually tells people what you stream, and set up your panels below your stream window. I see so many new streamers skip this step and wonder why nobody sticks around!
Pro tip: your username should be easy to spell and remember. I chose something way too complicated at first and people could never find me when they searched.
Setting Up Your Broadcasting Software
OBS Studio is gonna be your best friend. Download it, install it, then take a deep breath because the interface looks scary at first but it’s actually not that bad once you get the hang of it.
Connect OBS to your Twitch account through the settings menu—you’ll need your stream key from Twitch, which you can find in your Creator Dashboard. Then you gotta add your “sources,” which is just fancy talk for what appears on your stream: your game capture, webcam, maybe some overlays if you’re feeling fancy.
For your first stream, keep it simple. Game capture, a small webcam window in the corner, and maybe a basic overlay. You can get free overlays from sites like Nerd or Die that’ll make your stream look more professional without spending a dime.
Audio Setup (Don’t Skip This Part!)
Audio is honestly more important than video quality, and I learned this the hard way. People will tolerate a blurry stream, but if your audio’s trash, they’re bouncing immediately.
In OBS, check your audio mixer section at the bottom. You should see bars moving when you talk—aim for the yellow zone, never red. Too quiet and people can’t hear you over the game; too loud and you’ll blow out their eardrums.
Test everything before going live! Stream to yourself using Twitch’s option to stream without going live, or use the Inspector tool in OBS to check if everything looks and sounds right.
Going Live for Real
Okay, moment of truth time. Hit that “Start Streaming” button in OBS, then go to your Twitch dashboard and click “Go Live.” You’ll need to add a stream title and pick a category—be specific here because that’s how people find you.
Your first stream’s gonna feel weird. Like, really weird. You’ll probably talk to an empty chat for a while. That’s totally normal and happens to literally everyone, even the big streamers when they started.
Keep talking anyway. Narrate what you’re doing in the game, share your thoughts, pretend you’re explaining stuff to a friend who’s watching. This was the hardest part for me because talking to yourself feels ridiculous, but it’s necessary.
Building Your Community From Day One
Here’s something nobody tells you: consistency beats everything else. Streaming randomly whenever you feel like it won’t build an audience. Pick a schedule—even if it’s just two days a week for two hours—and stick to it religiously.
Engage with every single person who chats, no matter how small the message. Someone says “hi”? You respond enthusiastically! These early viewers are gold because they might become your regulars.
Also, don’t just disappear when the stream ends. Hang out in other streamers’ chats, join Twitch communities in your category, and be genuinely interested in other creators. The Twitch community’s actually pretty supportive when you’re not being a jerk about self-promotion.
Your Streaming Journey Starts Now
Look, I’m not gonna lie to you—your first streams will probably be a bit rough around the edges. Mine definitely were, and I cringe thinking about them now. But every big streamer you watch started exactly where you are right now, fumbling with settings and wondering if anyone would ever watch.
The technical stuff gets easier with practice. What matters most is showing up consistently, being yourself, and genuinely enjoying what you’re doing. Don’t stress about having the perfect setup or going viral—focus on improving a little bit each stream.
Want more tips on gaming, streaming, and tech? Head over to Voltzora where we’ve got tons of guides to help you level up your content creation game. Now get out there and start streaming!