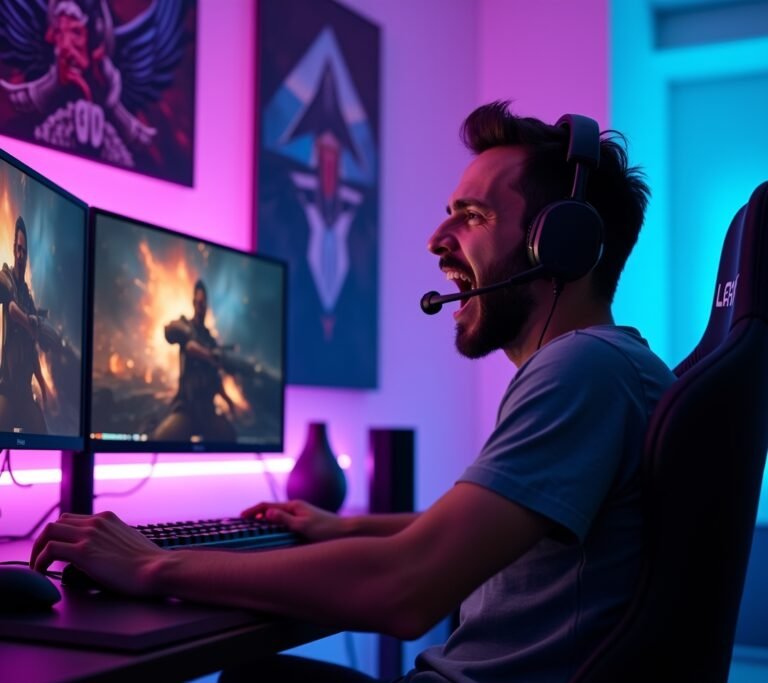
Here’s something that blew my mind last year: studies show that over 60% of gamers never calibrate their monitors. I was part of that statistic for way too long! I remember playing Cyberpunk 2077 and thinking “wow, this game looks kinda washed out” – turns out my monitor settings were absolute garbage, and I’d been gaming on what basically amounted to a really expensive potato screen.
Look, gaming monitor calibration isn’t just some tech nerd obsession. It’s the difference between seeing your enemies clearly in dark corners versus getting sniped because everything looks like a gray blob. And honestly? Once you experience properly calibrated colors and contrast, you can’t go back.
My Calibration Wake-Up Call
So there I was, three years into owning a supposedly “premium” gaming display, when my buddy came over and literally gasped at how bad my screen looked. That stung a bit, not gonna lie. He pulled up a calibration test pattern on my monitor, and I couldn’t even see half the gray bars that were supposed to be visible.
That’s when I realized I’d been playing with brightness cranked way too high and the color temperature set to “nuclear blue.” My eyes had just adapted to it over time, which is apparently what happens to most of us.
The Basic Settings You Need to Adjust First
Brightness and contrast are your foundation. Period. Start here before you mess with anything fancy like gamma curves or color profiles, because I learned this the hard way by tweaking everything at once and making things worse.
For brightness, you want to adjust it so you can distinguish between all the bars in a black level test. I use this super simple trick: pull up a mostly black image or scene in a game, and if you can’t see details in the shadows, your brightness is too low. If blacks look gray? Too high.
Contrast is trickier because it affects your white levels. The goal here is to see details in bright areas without everything looking blown out. I usually set mine around 70-75% and then fine-tune from there based on what game I’m playing.
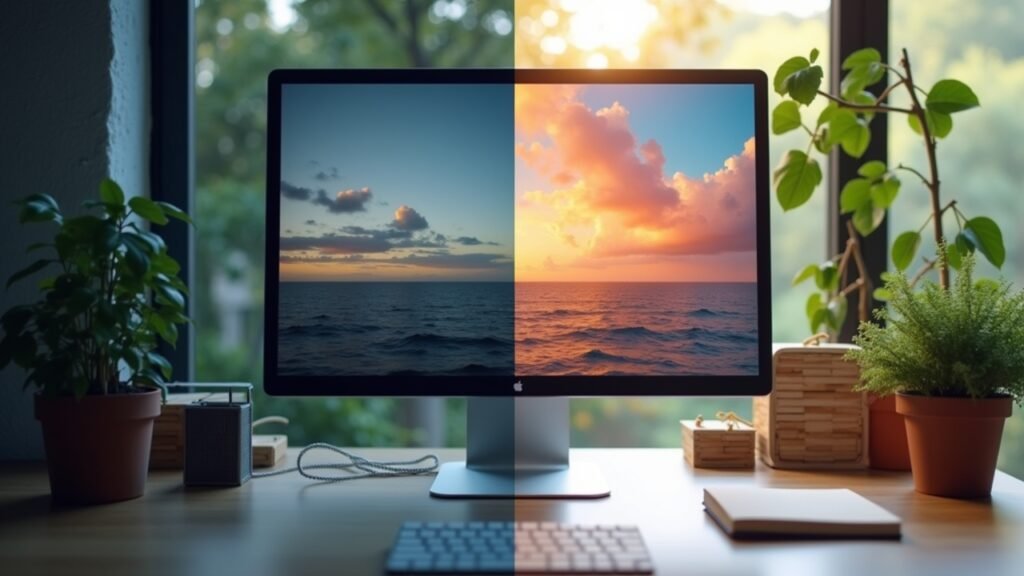
Color Temperature: Stop Frying Your Eyeballs
This is where I made my biggest mistake initially. Most gaming monitors ship with the color temperature set to something like 9300K, which is ridiculously blue and harsh on your eyes during long gaming sessions. The standard for accurate color reproduction is actually 6500K, which looks way warmer and more natural.
I switched mine to 6500K and thought my monitor was broken at first – everything looked so yellow! But after about 20 minutes, my eyes adjusted, and now the old blue setting looks like I’m staring at the sun. Trust the process here, even though it feels weird initially.
Some monitors have custom RGB controls too. If yours does, you can fine-tune the color balance even more precisely using calibration software, though honestly the presets work fine for most people.
Gamma Settings and Response Time
Gamma controls how your monitor transitions from dark to light tones. The standard is 2.2, and that’s what I stick with for gaming because it provides good shadow detail without washing out the image. Some competitive gamers prefer 2.0 to see enemies in dark corners better, but it makes everything look a bit flat in my opinion.
Response time is often overlooked but super important for reducing motion blur. I keep mine on the fastest setting my monitor offers (usually 1ms or “Fast” mode), though be aware this can sometimes introduce inverse ghosting on cheaper panels.
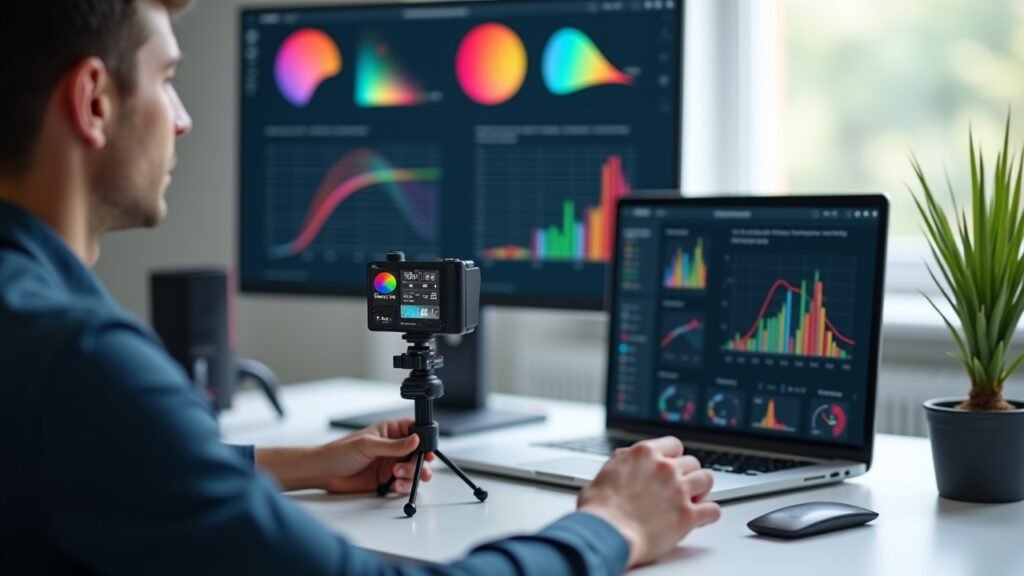
Quick Calibration Without Fancy Equipment
You don’t need a $200 colorimeter to get decent results. Seriously. I calibrated my monitor for months using just free online tools before I invested in hardware, and it was already 90% of the way there.
Here’s my no-equipment process that actually works:
- Use the Lagom LCD test pages to check contrast and brightness
- Pull up reference images that you know should look accurate
- Test in actual games, not just static images
- Make small adjustments and let your eyes adapt for 10-15 minutes before changing more
- Write down your settings so you don’t forget them
The key is making incremental changes. I once tried to “fix” everything in 5 minutes and ended up with a monitor that looked like a Instagram filter had a baby with a Snapchat lens.
Game-Specific Tweaks That Matter
Different games need slightly different approaches, which nobody told me when I started. Dark, atmospheric games like horror titles benefit from lower brightness and higher contrast to preserve that moody vibe. Competitive shooters though? You want to see everything clearly, so I actually boost the brightness a bit and reduce contrast.
I keep two custom presets saved on my monitor now – one for single-player immersive games and one for competitive multiplayer. Switching between them takes like 10 seconds and makes a huge difference in both enjoyment and performance.
Your Screen Deserves Better Than Factory Settings
Look, I wasted three years gaming on terrible monitor settings because I didn’t think calibration mattered. Now I can’t imagine going back to those washed-out, eye-straining defaults that manufacturers ship with to make displays look “punchy” on store shelves.
Start with brightness and contrast, adjust your color temperature to 6500K, and use free online calibration tools to dial everything in. Your eyes will thank you during those marathon gaming sessions, and you’ll actually see what game developers intended you to see.
Want more tech tips and gaming guides that actually make sense? Head back to Voltzora and check out our other articles – we’ve got tons of practical advice for getting the most out of your gaming setup without the usual tech-bro nonsense.